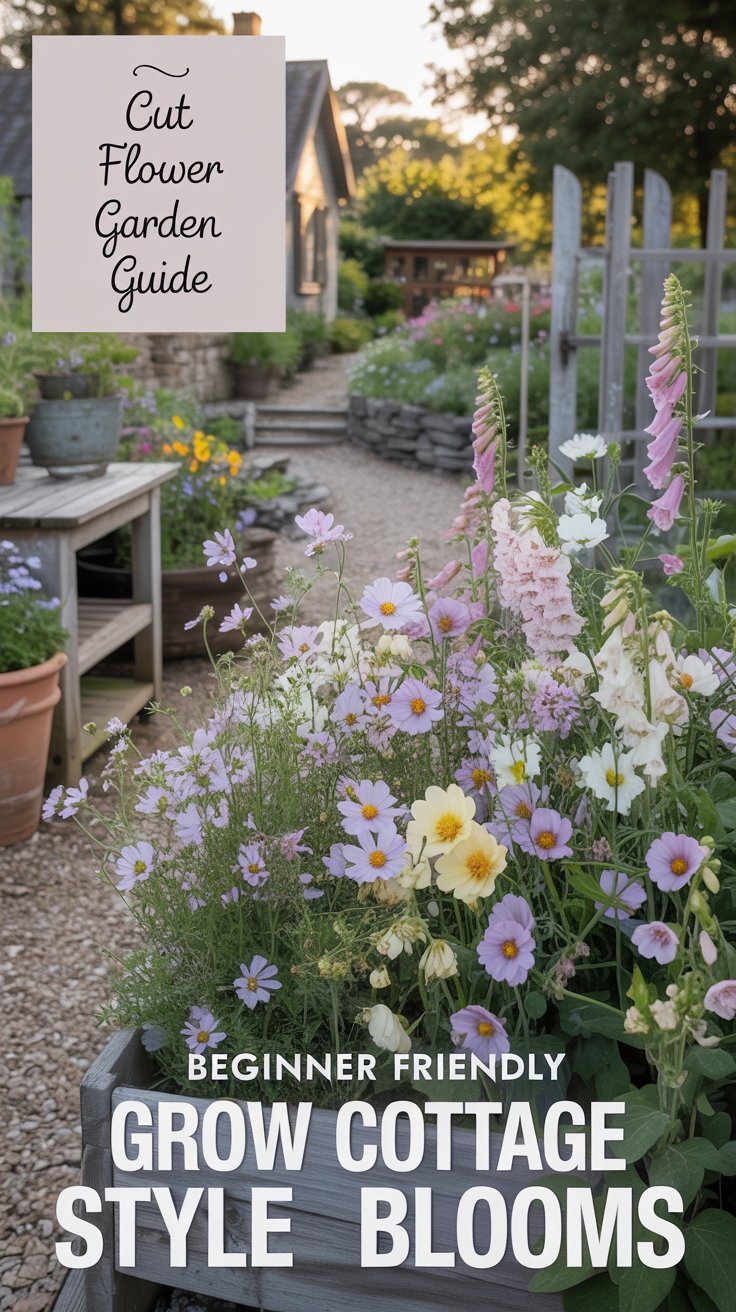
Outdoor Gardening: A Complete Guide to Growing Healthy Plants Outside
Outdoor gardening comes down to one simple idea: give each plant what it actually needs, and it does most of the work for you. That means the right light, decent soil, water on a schedule the plant wants rather than the one that’s easiest for you, and a bit of regular attention. If you’re just starting out, don’t try to fill every bed in one weekend. Spend some time getting to know your yard first, then choose plants that already fit it instead of forcing plants into a space they were never suited for.
A healthy garden doesn’t have to be complicated to keep alive. The trick is matching each plant to the right spot and giving it a care routine that actually fits how it grows. This guide walks through the basics: choosing plants, preparing soil, watering, feeding, pruning, dealing with pests, and adjusting your routine as the seasons change.
What Makes a Healthy Outdoor Garden?
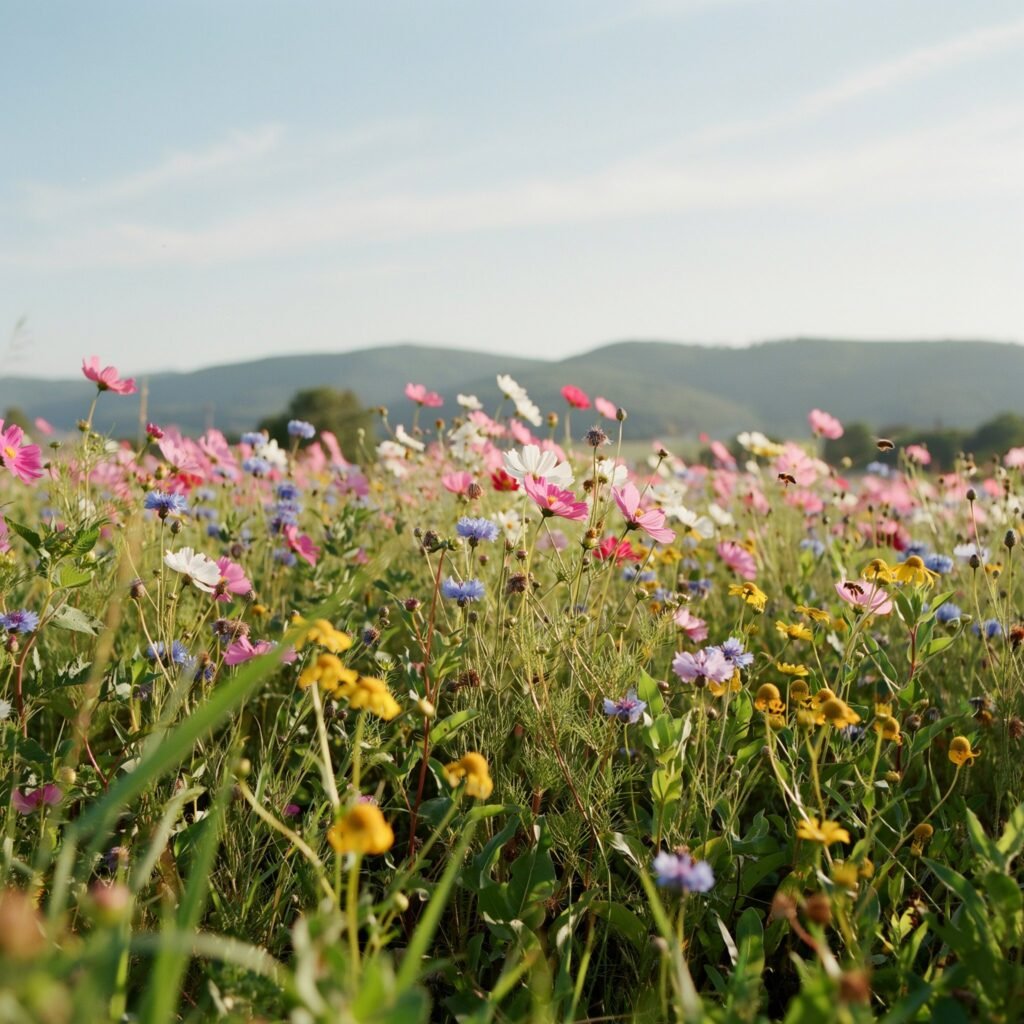
Every plant, however different they look, needs a handful of the same basic things: light, water, nutrients, healthy soil, decent air flow, enough room to grow, and conditions that actually match what it evolved to handle.
• Light
• Water
• Nutrients
• Healthy soil
• Good air flow
• Enough space
• The right growing conditions
But “enough” looks different for every plant. A cactus and a fern have almost nothing in common when it comes to water. Some plants want full sun all day; others scorch in it and do better tucked into afternoon shade. Some like soil that stays a little moist; others need it to dry out almost completely between waterings.
The goal was never to treat every plant the same. It’s to figure out what each one actually wants and give it that.
1. Start by Studying Your Garden Space
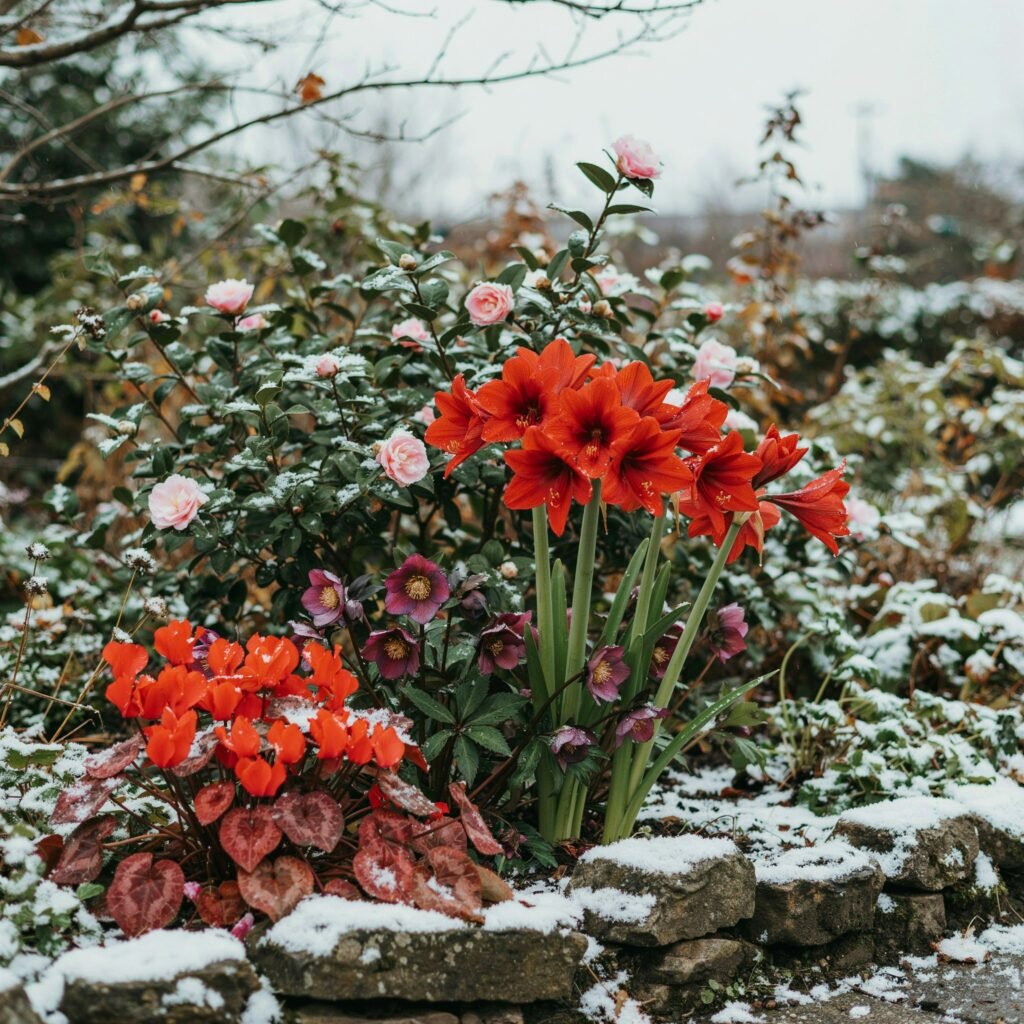
Before you buy a single plant, spend a week or two just watching your yard. Notice where the sun lands in the morning and where it lands by late afternoon; they’re rarely the same spot. Check which areas stay soggy for a day or two after rain and which ones dry out almost immediately. Pay attention to where water runs off during a downpour and where it tends to pool instead.
Most yards aren’t one single growing environment. They’re several small ones stitched together. One side of the house might get sun from sunrise to sunset. Another might catch only a couple of hours of soft morning light. A spot under a mature tree might stay shaded most of the day but still get dappled light filtering through the leaves.
These small differences matter more than people expect. They’re often the reason one gardener’s hydrangea thrives while another’s, planted just a few feet in the wrong direction, struggles all summer.
Access matters too. Leave yourself room to walk around beds, reach in to water, pull weeds, and prune without stepping on anything. A garden you can actually get to is a garden you’ll actually take care of.
2. Choose Outdoor Plants for Your Space
Plant choice should come after you’ve studied your yard, not before. Once you know how much sun a spot gets, what the soil’s like, and how well it drains, you can pick plants that are genuinely suited to it instead of ones that just looked good under the greenhouse lights at the garden center.
Worth checking before you buy:
• Your local climate and hardiness zone
• Sun exposure
• Soil type
• Drainage
• Mature plant size
• Water needs
• Cold tolerance
• Maintenance needs
Native and well-adapted plants are usually a smart starting point. A black-eyed Susan or a native coneflower has already spent generations adjusting to your regional rainfall and soil, so it needs less babying than something bred for a completely different climate.
A plant that fits your yard will almost always outlast one you bought on impulse because it looked pretty in a four-inch pot.
3. Check the Plant’s Mature Size
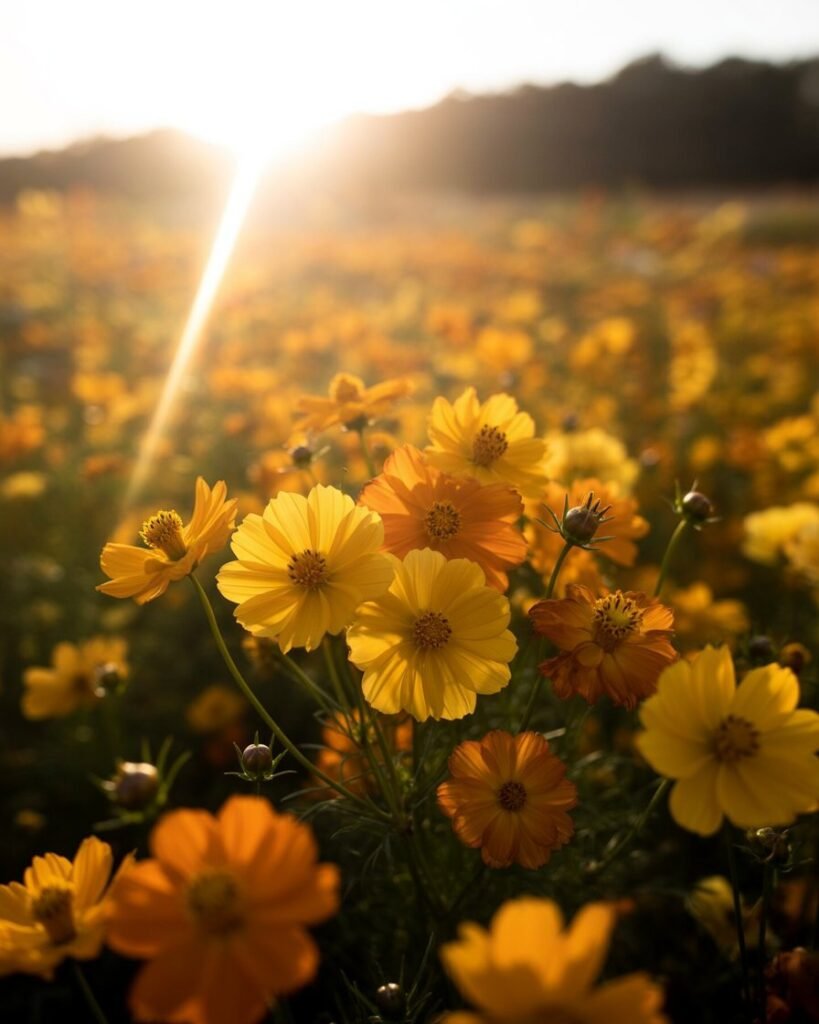
One of the most common beginner mistakes is planting based on how big something looks the day you bring it home. That two-foot shrub can easily become an eight-foot shrub in five years.
Always check mature height and width before planting, especially for shrubs, trees, perennials, vines, and larger ornamental grasses. It’s easy to underestimate how much space these need once they’re established.
Give each one room to reach full size. Plant too close together, and they’ll compete for light, water, and nutrients, which usually means everyone grows worse, not better. Crowding also cuts down on air movement around the leaves, which sets the stage for disease later on. Good spacing now saves a lot of frustrated pruning in three years.
It’s almost always better to leave a little empty space at first than to end up with a jungle you have to fight your way through by year three.
4. Understand Sunlight Requirements
Light is usually the first thing to check on a plant tag, and it’s worth taking seriously. Most labels use terms like full sun, part sun, part shade, and full shade.
Full sun generally means at least six hours of direct light a day. Shade-loving plants need far less, sometimes just filtered light or a couple of hours of early morning sun.
But sunlight moves, and your yard changes with it across the day and across the seasons. A bed that’s shaded in June might get more direct light in September once a nearby tree starts losing leaves. Watch a space for a few days before committing a plant to it.
One thing people often forget: outdoor sun is far more intense than anything a plant experiences indoors, even next to a bright window. A plant that’s spent months inside can get sunburned, scorched leaf edges, and all, if it’s moved straight into full outdoor sun. Ease it in gradually over a week or two instead.
5. Think About Heat and Wind
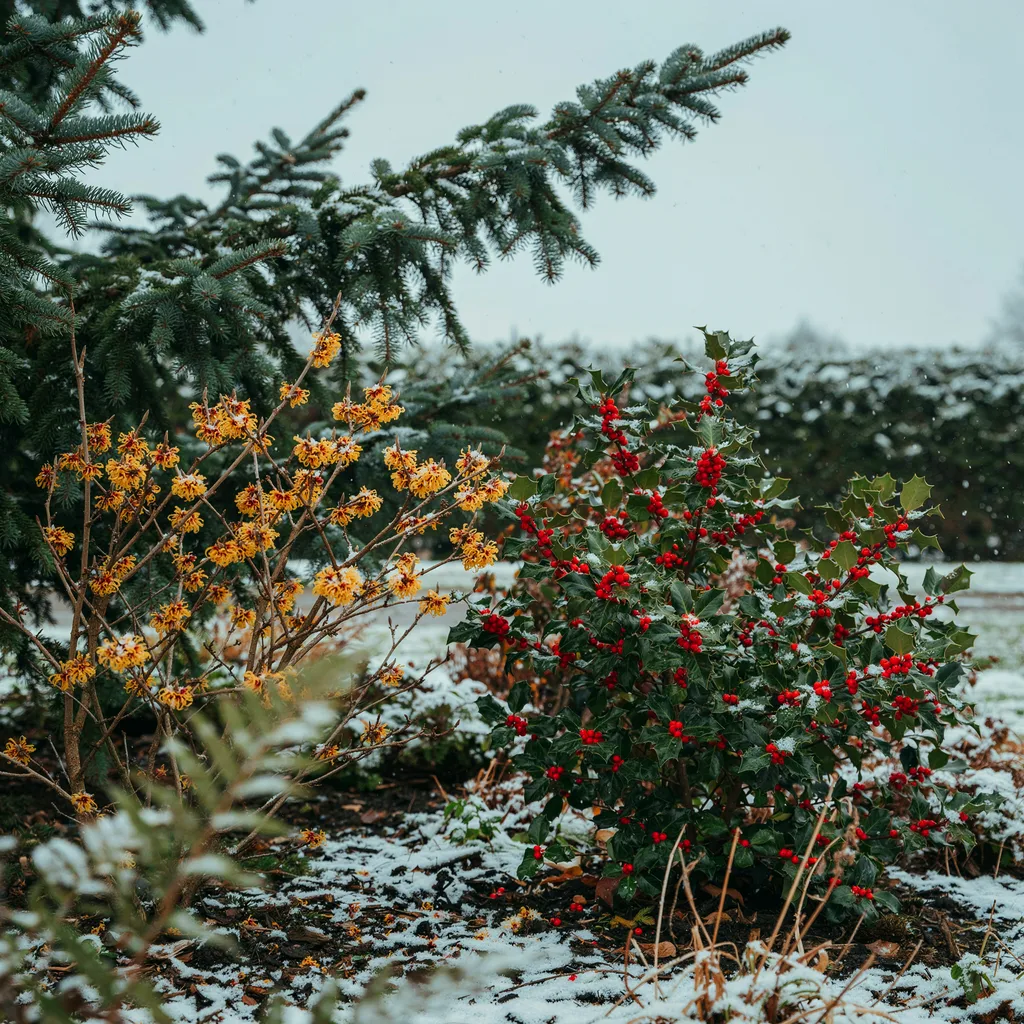
Sunlight isn’t the only environmental factor at play. Heat and wind shape a garden just as much.
A bed next to a brick wall or a concrete patio can run noticeably hotter than an open garden bed just a few feet away, since both the wall and the pavement absorb and radiate heat back at the plants. If a spot bakes in the afternoon, choose something that can actually handle it; lantana, sedum, and Russian sage all tolerate that kind of heat well.
Wind dries out leaves and soil faster than most people expect, and it can snap or lean anything tall and top-heavy. If your yard catches a lot of wind, a fence, hedge, or even a well-placed shrub can act as a windbreak for more delicate plants behind it.
The goal is to shape the conditions around the plant, not force it to tough things out somewhere it was never going to be happy.
6. Build Healthy Soil
Good soil does two jobs at once: it gives roots room to spread, and it holds onto water and nutrients long enough for the plant to actually use them.
Before planting anything, take a real look at your soil. Check its texture (does it feel gritty, silky, or sticky when wet), how quickly it drains, how much organic matter is in it, and its pH.
A basic soil test, whether it’s a $15 kit from the hardware store or a sample sent to your local extension office, tells you far more than guessing ever will. It’s worth doing before you dump a bag of fertilizer or amendment on a bed just because it seemed like the right thing to do.
Not every plant wants the same soil. Lavender and rosemary actually prefer loose, sandy soil that drains fast. Hostas and most vegetables are happier in heavier, richer soil that holds moisture a bit longer. If water sits around the roots for too long, they can suffocate and start to rot, no matter how well-intentioned the watering was.
7. Improve Soil With Organic Matter
Soil isn’t static. It changes over time, and adding organic matter is one of the most reliable ways to improve it. Compost, well-aged manure, shredded leaves, and other amendments all help build better structure and feed the microbial life plants actually depend on.
Don’t just throw random materials into a bed because you read they’re “good for soil.” A soil test tells you what you’re actually missing, whether that’s organic matter, nitrogen, or better drainage, so you’re not guessing.
Work amendments into the soil at the rate recommended for whatever you’re growing. The goal is healthier soil, not simply more stuff piled on top of it.
8. Pay Attention to Drainage
Drainage is one of the easiest things to overlook and one of the most common reasons plants struggle. Water needs to move through soil, not just sit in it.
Poor drainage tends to show up as:
• Root stress
• Yellowing leaves
• Slow growth
• Root rot
• Gradual plant decline
If a spot stays wet a full day or two after rain, don’t just hope it improves on its own. You can amend the soil to improve drainage, choose plants that actually tolerate wet feet (certain irises and swamp milkweed, for instance), or build a raised bed to lift the roots above the problem entirely.
9. Water Plants the Right Way
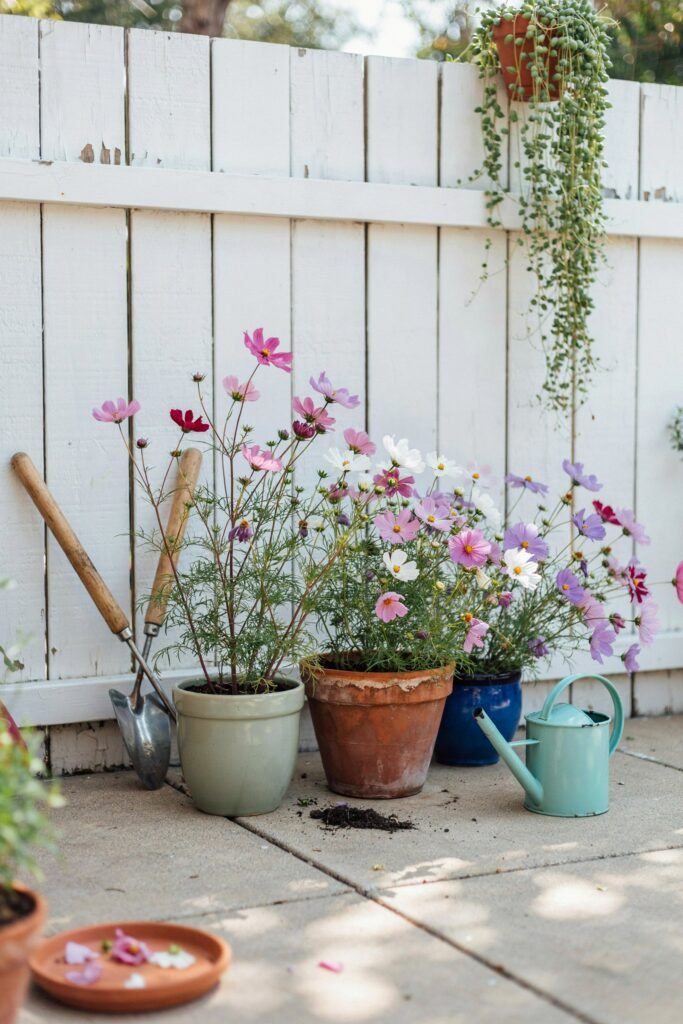
Watering sounds simple, and it’s probably the single most common thing gardeners get wrong. Both too little and too much water cause real problems, and the two can look surprisingly similar from the outside: wilting leaves either way.
Instead of watering on autopilot every Tuesday and Friday, check the soil and the plant first. Water deeply when it’s actually needed. Deep, infrequent watering encourages roots to grow down in search of moisture, which builds a stronger, more resilient plant than frequent shallow sprinkles ever will.
Water at the base of the plant rather than overhead when you can. It keeps the leaves dry, which matters more than people realize, since wet foliage sitting overnight is an open invitation for fungal disease. Early morning is generally the best time to water: it gives everything time to dry before evening, and you lose less water to midday evaporation.
Container plants are a different story. They dry out much faster than anything in the ground, sometimes within a day or two during a heat wave, so check them more often, especially in summer.
10. Know When Plants Need Water
Don’t wait until a plant looks half-dead to water it. Check the soil before you reach for the hose. Push a finger about two inches into the soil near the base; if it’s still moist, hold off. If it’s dry, it’s probably time.
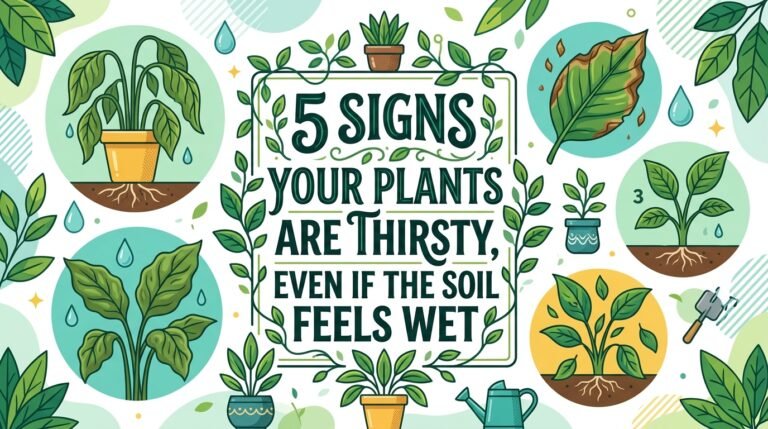
Watch the plant too. Signs of water stress usually include:
• Drooping leaves
• Dry, cracked soil
• Visible wilting
• Slower-than-usual growth
• Brown or crispy leaf edges
Here’s the catch: wilting doesn’t always mean thirst. Root damage, heat stress, pests, and disease can all cause a plant to droop in almost identical ways. Check the soil first before assuming more water will fix it, since overwatering a plant that’s actually struggling with root rot only makes things worse.
11. Fertilize Based on Plant Needs
More fertilizer doesn’t equal more growth. Past a certain point, it just burns roots and throws the whole plant out of balance.
Start with good soil. Test it if you can. Then choose a fertilizer that actually matches what your specific plants and soil need, not just whatever’s on sale. Follow the label rates instead of eyeballing them; more is rarely better here.
Some plants, like heavy-feeding vegetables and roses, want regular feeding throughout the growing season. Others, once established, barely need any fertilizer at all. Compost and organic mulch quietly add nutrients as they break down, which covers a surprising amount of what many established beds actually need.
12. Grow Plants in Containers
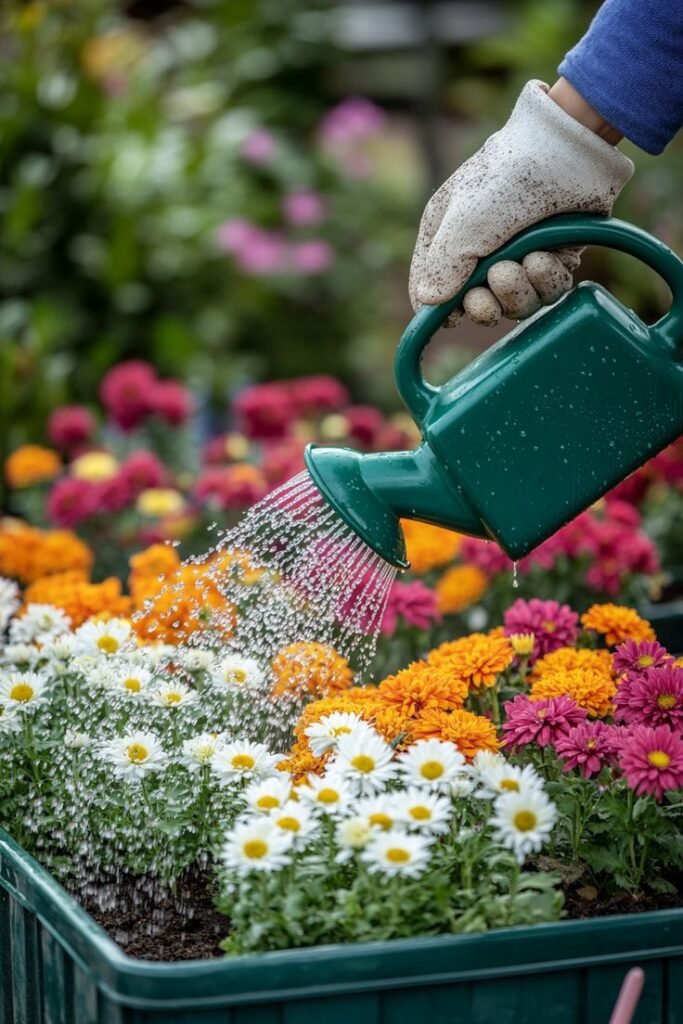
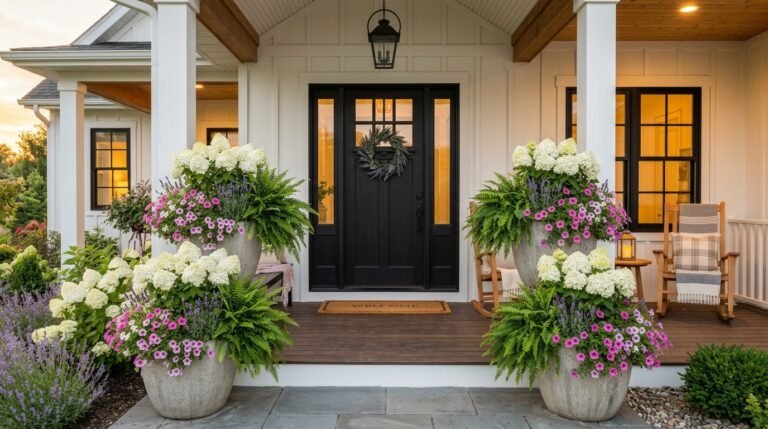
Container gardening earns its keep when space is tight: patios, balconies, porches, small yards, or even just a sunny stretch of fire escape.
A good container setup needs a few things: drainage holes (non-negotiable), enough room for roots to spread, quality potting mix instead of garden soil, a plant sized appropriately for the pot, and a consistent watering and feeding routine.
Skip regular garden soil in containers. It compacts too easily and drains poorly once confined to a pot, which suffocates roots fast. A proper potting mix is built to drain and hold air the way container roots need.
Size the container to the plant’s mature size, not its current size. A pot that’s too small dries out almost immediately in summer heat. One that’s too large for a small root system can hold onto excess moisture and invite rot.
13. Choose the Right Container Location
Where you put a container matters almost as much as what’s growing in it. A pot on a sunny concrete patio heats up faster than the same pot sitting in a garden bed, since pavement radiates heat right back into the soil. Dark-colored containers absorb even more heat in direct sun, which can cook roots on a hot day.
Match the spot to the plant’s actual light needs rather than wherever looks nicest. Keep it somewhere you’ll actually reach to water regularly, and don’t set a heavy pot somewhere you won’t be able to move later if the spot turns out to be wrong.
14. Plan Garden Beds With Care
A garden bed gives you more room to work with than a container, but that doesn’t mean you can skip the planning. Before breaking ground, work out what you actually want to grow, how much sun the bed gets through the day, how you’ll get water to it, how much space mature plants will need, where paths will go, and how you plan to keep weeds under control.
Resist the urge to fill every inch on day one. Plants need room for air to move between them. Crowd them together and you create damp, still conditions that plant diseases love. Good spacing also means leaves dry faster after rain, which heads off a lot of common problems before they start.
15. Plant in Layers
A garden reads as fuller and more intentional when plants sit at different heights instead of one flat plane. Tall plants go toward the back of a bed (or the center of an island bed), medium plants fill the middle ground, and shorter plants take the front.
This layering does more than look good. It lets every plant actually be seen instead of getting swallowed by its neighbors, and it makes the whole bed easier to maintain since you’re not reaching over three feet of foliage to get to something in back.
Just double check mature heights before committing to a layout. A tall plant placed in front of a shorter one will eventually block its light completely, no matter how good the arrangement looked on planting day.
16. Transplant New Plants With Care
Moving a plant from its nursery pot into the ground is more stressful for it than it looks. Water it well before you start. Prepare the new hole first so the roots aren’t sitting exposed and drying out while you dig.
Remove the plant gently, supporting the root ball rather than pulling it out by the stem. Set it at the same depth it was growing in the pot; burying the stem deeper than it wants, unless the specific plant calls for it, like tomatoes, can lead to rot.
Water thoroughly right after planting, then keep an eye on it over the next couple of weeks. Newly transplanted plants haven’t built out their root systems yet, so they need closer attention, especially watering, than something established for a season or two.
17. Harden Off Plants Before Moving Them Outside
Plants raised indoors, or started in a greenhouse, aren’t ready for the real world on day one. Moving them straight into full sun and open wind can shock them badly, sometimes fatally.
Start them somewhere sheltered, a porch or a spot with dappled shade, then gradually increase outdoor exposure over a week to ten days. A little more sun and wind each day lets the plant build up the toughness it needs, thicker leaf cuticles, stronger stems, to handle the real outdoors.
This step matters most for seedlings started indoors and anything coming straight out of a greenhouse. Skip it, and you’ll likely see scorched or wind-battered leaves within days.
18. Use Mulch to Protect the Soil
Mulch might be the single easiest upgrade you can make to a garden bed. A good layer helps hold soil moisture, suppresses weeds before they even germinate, moderates soil temperature through heat waves and cold snaps, protects soil structure from heavy rain, and slowly feeds the soil as it breaks down.
Common organic options include shredded bark, wood chips, straw, compost, and shredded leaves, most of which you can source cheaply or even free.
A layer of about two to three inches works for most landscape beds. Keep it a few inches clear of plant stems and tree trunks, though; mulch piled directly against a trunk traps moisture against the bark and invites rot and pests. Think of mulch as a blanket for the soil, not for the plant itself.
19. Prune With a Purpose
Pruning isn’t just about tidiness, though it does help. Done right, it removes dead, broken, or diseased wood, clears out branches that are crossing and rubbing against each other, and cuts back weak growth that’s draining energy from the rest of the plant.
It can also shape a plant’s size and form, but that’s not a reason to prune constantly just because you can. Different plants have very different pruning needs and timing; cut a spring-flowering shrub back in fall, for instance, and you may cut off next year’s flower buds along with it. Learn what your specific plant actually needs before making big cuts, since over-pruning can set it back for a full season.
20. Keep Garden Tools Clean
Your pruners and shovels come into contact with soil, sap, and plant tissue all day, which makes them a surprisingly easy way to spread disease from one plant to the next without realizing it.
Wipe blades down with rubbing alcohol after working on anything diseased. Keep pruning tools sharp too. A clean cut heals faster than a ragged one from a dull blade, which just tears tissue and leaves a bigger wound for pathogens to get into.
21. Watch for Garden Pests
Pests are simply part of growing things outdoors. Aphids, spider mites, scale, caterpillars, beetles, slugs, and whiteflies will all show up eventually; no garden is exempt.
Don’t reach for a spray bottle the second you spot one bug. Identify what you’re actually dealing with first, then assess how much real damage it’s causing. A few aphids on a healthy plant are rarely worth worrying about; a heavy infestation on something already stressed is a different story.
Regular walks through the garden make problems much easier to catch early. Integrated pest management starts with identification, then works through the least aggressive options first: hand-picking, physical barriers, and beneficial insects, before chemical controls ever enter the picture.
22. Encourage Helpful Insects
Not every bug in your garden is working against you. Ladybugs and lacewing larvae eat aphids by the hundreds. Bees, butterflies, and countless other pollinators are the reason a lot of your flowering and fruiting plants produce anything at all.
A garden with a genuine mix of plants, especially natives, tends to support more of these helpful insects naturally. Spraying broad-spectrum insecticides before identifying the actual problem often kills the beneficial insects right along with the pests, which can make things worse in the long run. If the damage is minor, sometimes the best move is simply to keep an eye on it and let nature sort itself out.
23. Learn the Signs of Plant Disease
Not every off-color leaf means disease. Yellowing, browning edges, spotting, wilting, and slow growth can all come from a long list of causes: overwatering, underwatering, poor soil, root damage, nutrient deficiencies, insects, fungal infection, bacterial infection, or plain environmental stress.
Look at the whole plant before jumping to a diagnosis, leaves, stems, soil, roots if you can check them, and recent weather. A week of heavy rain explains a lot of yellow leaves that have nothing to do with disease.
If you do suspect a genuine disease, remove the affected material promptly and avoid working around wet foliage, since many fungal spores spread more easily when everything’s damp.
24. Give Plants Enough Air Flow
Air movement matters more than most beginner gardeners realize. Plants crammed too close together stay damp longer after rain or watering, which is exactly the kind of environment fungal diseases thrive in.
Plan spacing around each plant’s mature size, not its size on planting day. Keep large shrubs a reasonable distance from smaller, more delicate plants, and prune when growth starts crowding in. Better air flow alone solves a surprising number of disease problems before they ever start.
25. Adjust Care With the Seasons
Outdoor plant care isn’t a set-it-and-forget-it routine; it shifts with the calendar.
Spring
Clean up garden beds, check and refresh soil, work in compost if needed, plant things suited to your climate’s spring window, check for winter damage, and start regular pest checks before populations build up. Resist the urge to rush tender plants outside before your last frost date has actually passed.
Summer
Expect faster water loss and more heat stress. Check soil moisture more often, water deeply when needed, refresh mulch to slow evaporation, and keep an eye out for heat-stressed plants, pests, and containers drying out faster than you’d expect.
Fall
Clear out dead plant material, rake and collect leaves (or shred them for mulch), clean your tools before storing them, plant perennials and trees while the soil is still warm, refresh mulch, and start prepping tender plants for winter. Not everything needs to be cut back, though; some seed heads and stems provide winter habitat and food for birds, and honestly look good against frost.
Winter
Care depends heavily on your climate. Protect anything cold-sensitive, check container plants during dry spells (winter dehydration is real, even in cold weather), and don’t assume dormant plants need zero water just because it’s cold outside.
26. Prepare Plants for Extreme Weather
Weather doesn’t always cooperate with your planting schedule. Heat waves, sudden downpours, high wind, and cold snaps can all stress a garden fast.
Before severe weather hits, check on newly planted specimens, container plants, young trees, tall or weak-stemmed plants, and anything with high water needs, these are usually the first to suffer. Move portable containers somewhere sheltered if you can, and stake or support young trees and tall perennials that might not hold up on their own.
After the weather clears, walk the garden and look for broken branches, standing water, damaged leaves, and exposed roots. Catching and fixing these early prevents small problems from turning into dead plants.
27. Avoid These Beginner Gardening Mistakes
Most new gardeners run into the same handful of mistakes, and there’s no shame in it. Everyone does:
• Choosing plants before checking the site: a gorgeous plant will still struggle if the spot doesn’t meet its basic needs.
• Watering on a fixed schedule: not every plant wants water every day. Check the soil first.
• Over-fertilizing: more isn’t automatically better. Follow the label, and test the soil when you can.
• Planting too close together: small plants grow. Leave room for their mature size, not their nursery size.
• Ignoring drainage: roots need oxygen as much as water. Standing water suffocates roots fast.
• Piling on too much mulch: a thick, packed layer can trap moisture and starve roots of air. Keep it off stems and trunks.
• Treating symptoms instead of causes: a yellow leaf doesn’t automatically mean “add fertilizer.” Find out what’s actually happening first.
• Planting too much, too fast: a big garden all at once quickly becomes unmanageable. Start small, learn what works in your specific yard, then expand.
28. Keep a Garden Journal
A simple garden journal is one of the most underrated tools a gardener can have. Jot down plant names, planting dates, sun exposure, watering, fertilizing, pruning, pest and disease issues, and anything notable about the weather.
It doesn’t need to be elaborate. A few lines in a notebook, or even notes in your phone, are enough to remember what actually happened from one season to the next. Over a year or two, patterns start showing up: which plants thrived, which struggled, and which parts of your yard behave in ways you wouldn’t have guessed otherwise.
How to Build a Healthier Outdoor Garden
Start with the site. Learn your light. Check your soil. Choose plants that actually fit the space you have, then give them enough room to grow into it. From there, build a simple care routine around what those specific plants need, not a generic checklist.
Healthy gardening has less to do with doing more and more to do with doing the right things at the right time. Good soil, appropriate light, water when it’s actually needed, fertilizer only when it’s warranted, a decent layer of mulch, and a regular eye out for pests and disease, that combination covers most of what a garden needs to thrive.
You don’t have to build the whole thing at once, either. Start with one bed, or even a few containers. Learn how those specific plants respond to your yard’s quirks before expanding. That slower approach gives you time to actually understand your soil, your light patterns, your weather, and your own watering habits before you take on more than you can manage.
Final Thoughts
Here’s the honest takeaway: a healthy outdoor garden starts with the basics done consistently, not with anything fancy. Choose plants that fit your space. Give them the light they actually need. Build soil that supports root growth. Water with intention instead of habit. Mulch. Prune with a reason. Keep an eye out for pests and disease before they get out of hand.
Most garden problems are far easier to fix when you catch them early, which is really the whole argument for paying attention in the first place. You don’t need a picture-perfect garden. You need one that fits your space, your climate, and the amount of time you actually have to give it. Start small, get to know your yard, give your plants what they need, and let the rest grow at its own pace.
Frequently Asked Questions
How often should outdoor plants be watered?
There’s no single schedule that works for every plant. Check soil moisture, weather, plant type, and drainage instead. Water deeply when it’s actually needed rather than relying only on a calendar.
What is the best time to water a garden?
Early morning is the better choice. It gives leaves time to dry before evening and helps lower the risk of some fungal diseases that thrive on damp foliage overnight.
How much mulch should I use?
Around two to three inches works for most landscape beds. Keep it a few inches away from plant stems and tree trunks to avoid trapping moisture against them.
Should I fertilize new outdoor plants?
Not always. Start with good soil and follow the needs of the specific plant. A soil test can show whether fertilizer is actually necessary before you add any.
Why are my outdoor plant leaves turning yellow?
Yellow leaves can come from several causes. Check water, drainage, light, pests, soil, and nutrient levels before assuming the plant needs treatment for any one of them.
Are containers harder to maintain than garden beds?
They can need more frequent attention. Containers dry out faster than ground soil, so regular moisture checks matter more during warm weather.
How can I prevent plant diseases?
Start with healthy plants and good growing conditions. Give plants enough space, avoid keeping foliage wet for long stretches, improve air flow, and remove diseased material promptly when you spot it.
What should I do when I find garden pests?
Identify the pest first, then check the level of damage. Physical removal, barriers, and beneficial insects can often handle the problem before stronger controls are needed.
How close should I plant outdoor plants together?
Use the plant’s mature size as your guide, not its size at planting. Leave enough space for it to grow fully without crowding its neighbors.
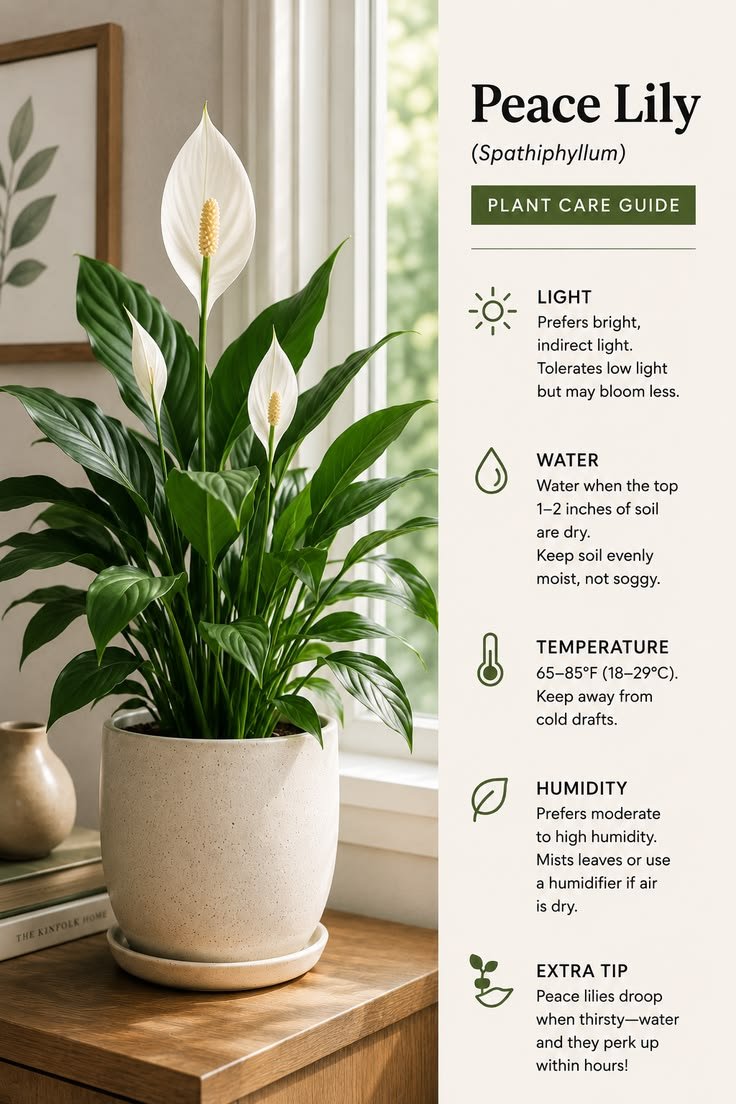
Can I move indoor plants outside?
Yes, but move them gradually. Give them time to adjust to stronger light, wind, and outdoor temperatures over a week or two rather than all at once.